We in this blog briefly discuss about the advanced inventory fields, which used for advanced warehouse in which bins and pics and put-aways are used, we can add a lot of information on the warehouse tab available on item card.
Step 1: - Search “Items” in Business central.
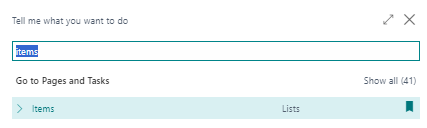
Step 2: - Item list will open.

We can see that there are various TABS available on item card where we fill related details.
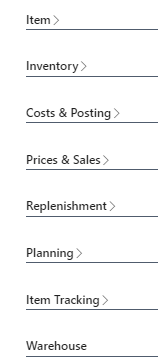
Here we discuss about warehouse tab only.

We will discuss briefly about various fields available on this Tab.
- Warehouse class code: - Here we can define a code for where to store this item in the warehouse, if it has specific needs for being Dry or Frozen.

-
Special Equipment code: - If we need special equipment for handling this item, like a special vehicle or a special gear or protection gear we can define them here.

-
Put Away Template code: - Here we define which put away we would like to use for this item, when putting it into warehouse

-
Put Away Unit of Measure code: - Here we define Put- Away Unit of Measure code if it differs from base unit of Measure code or Purchase code, if the warehouse handle the item in different unit of measure.

-
Physical Inventory counting period code: - Here we define how often would we like to count this item when we define it automatically suggestions for counting on the inventory.

-
Next Counting Start Date and Next Counting End Date: - Here we see that these fields automatically calculate when we define Counting period.

-
Use cross Docking: - If we enable this we are allowed to cross dock this item which means that if we have a demand on the outbound side we can directly transfer it from the receipt zone to the outbound zone instead of putting it away on inventory and picking it again.
